
12 Jun 2025
Post by Gabriel
Introduction
Blocked messages can pose a challenge when you need to retrieve vital information. The Messages app on MacBook allows users to block contacts, preventing messages from appearing in the primary inbox. But what if you need to view these blocked messages later on? In this comprehensive guide, we will explore the methods to see blocked messages on a MacBook. From checking blocked contacts to using third-party software and accessing iCloud backups, you’ll find everything you need to navigate this issue.

Understanding Blocked Messages on MacBook
Blocked messages are those sent by contacts you’ve chosen to block on your MacBook. These messages won’t appear in your primary inbox, and the sender won’t receive delivery notifications. This feature helps you avoid unwanted communications, but sometimes, reviewing these messages becomes necessary for essential information.
Knowing how to access blocked messages can be crucial for multiple reasons, including legal concerns, important communication, or resolving misunderstandings. However, it’s essential to understand that retrieving blocked messages requires specific steps since they aren’t stored in the usual message history.
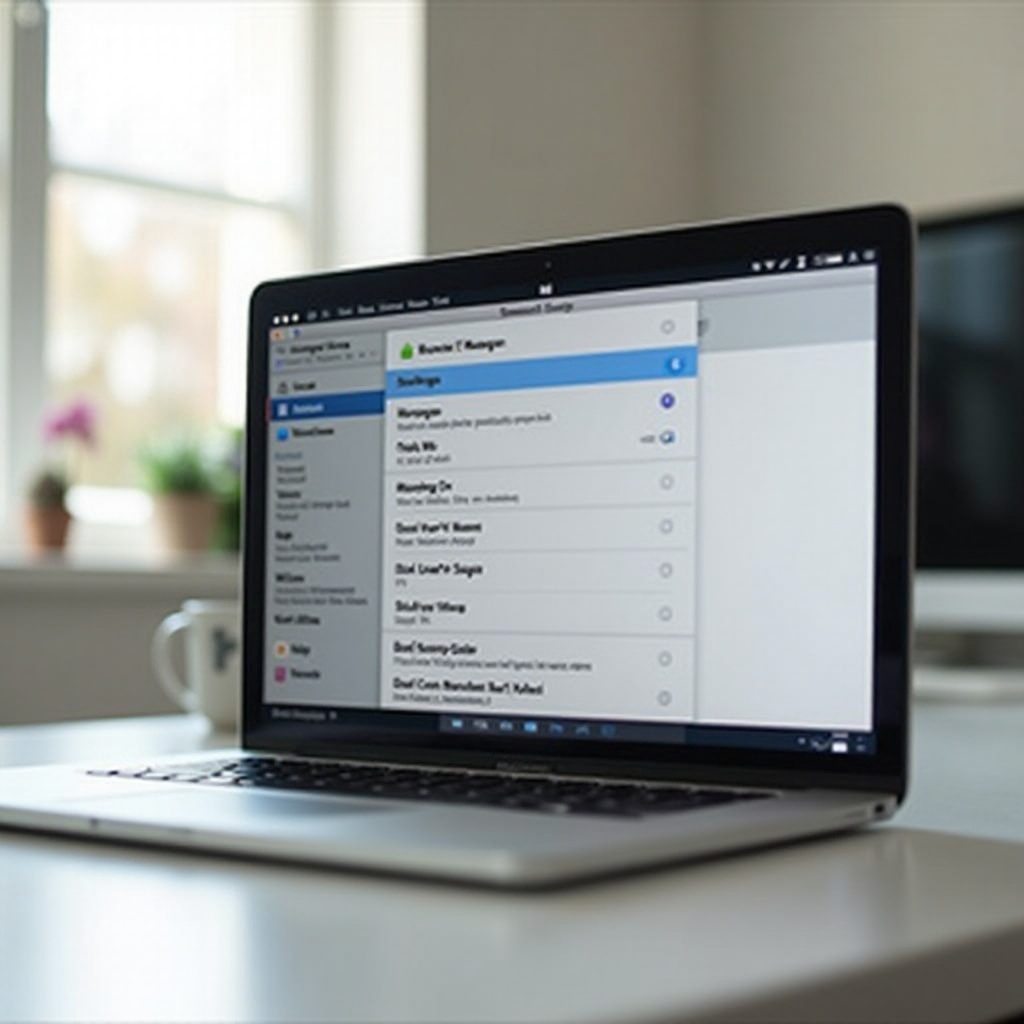
Methods to View Blocked Messages on MacBook
Checking Blocked Contacts in Messages
Firstly, you need to identify if the contact sending the blocked messages is on your blocked list. Here’s how:
- Open the Messages app on your MacBook.
- Click on ‘Messages’ in the menu bar and then go to ‘Preferences.
- Navigate to the ‘Accounts’ tab and select your iMessage account.
- Click on ‘Blocked’ to view the list of contacts you’ve blocked.
Recovering Blocked Messages via iCloud
iCloud can be a useful tool for recovering blocked messages, assuming you’ve backed up your messages on iCloud.
- Visit System Preferences and select ‘Apple ID.
- Click on ‘iCloud’ and ensure ‘Messages’ is turned on.
- Go to Messages and check if the blocked messages appear.
Using Third-Party Software for Message Retrieval
Several third-party applications can help retrieve blocked messages. Tools like PhoneRescue and dr.fone can scan your device for blocked or deleted messages. Use these tools with caution and ensure they are from reputable sources.
Step-by-Step Guide to Viewing Blocked Messages
Accessing Blocked Messages in the Messages App
- Open the Messages app.
- Click ‘Messages’ from the menu and select ‘Preferences.
- Under the ‘Accounts’ tab, navigate to ‘Blocked.
- Unblock the contact to view their messages in your inbox.
Viewing Blocked Messages Using iCloud Backups
- Ensure iCloud backup is enabled for messages by going to System Preferences > Apple ID > iCloud > Messages.
- Restore your MacBook from a previous iCloud backup:
- Go to Apple Menu > Restart.
- Hold Command+R during startup to access macOS Recovery.
- Choose ‘Restore from Time Machine Backup’ and follow the prompts.
- Check for the messages in your restored backups.
Advanced Tools for Message Recovery
Using advanced recovery tools involves:
- Downloading a reliable third-party application like PhoneRescue.
- Connect your MacBook and let the tool scan for all messages, including blocked ones.
- Follow the on-screen instructions to retrieve the desired messages.
Troubleshooting Common Issues
Common Problems Accessing Blocked Messages
Some common issues when attempting to view blocked messages include missing backups, corruption, or the use of unreliable recovery tools.
Solutions to Unblocking Issues
If unblocking doesn’t work, try:
- Restarting the Messages app.
- Rechecking if the contact is removed from the blocked list.
- Updating your MacBook to the latest macOS version.
Preventative Measures for Future
- Regularly review and manage blocked contacts.
- Keep your iCloud backups up to date.
- Use reliable third-party software sparingly and only when necessary.

Expert Tips for Managing Blocked Messages
Managing blocked messages efficiently improves your communication and maintains your MacBook’s functionality.
Organizing Blocked Contacts
Use clear labels for blocked contacts to manage them effectively. Regularly review and update this list to reflect current communications.
Managing Message Settings
- Check Settings > Messages > Blocked frequently.
- Adjust settings to automatically archive unwanted but non-spam messages for future retrieval.
Regularly Reviewing Blocked Items
Set reminders to review blocked contacts monthly. This practice ensures you don’t miss any significant communications.
Conclusion
Managing blocked messages on a MacBook isn’t straightforward, but it’s manageable with the right steps. From checking blocked contacts in the Messages app to retrieving messages through iCloud backups, you have several options. Always ensure you regularly manage and review your blocked contacts to avoid missing out on critical communications.
Frequently Asked Questions
Can I recover messages after unblocking on MacBook?
Yes, unblocking a contact will allow future messages to appear. Previous messages don’t automatically appear, but using iCloud backups or third-party software can help retrieve them.
Will blocked messages appear in iCloud backups?
Blocked messages may be included in iCloud backups if Messages were enabled in iCloud settings before blocking.
Is there a risk in using third-party apps to retrieve blocked messages?
Using third-party applications poses some risks, such as potential data leaks or software corruption. Always choose reputable and well-reviewed apps to minimize these risks.