
8 May 2025
Post by Gabriel
Introduction
Blink cameras offer a reliable, wireless solution for home security. However, to maintain their efficiency, changing the batteries regularly is essential. This blog provides a detailed, step-by-step guide on how to change the batteries in your Blink camera. You will learn about the tools and supplies you need, the steps involved, and some tips and troubleshooting strategies for a seamless battery replacement process.

Tools and Supplies Needed
Before you start the battery replacement process, it’s essential to gather the appropriate tools and supplies. Here is a list of what you will need:
- Phillips-head screwdriver: This will help you remove the mounting screws securing the camera device.
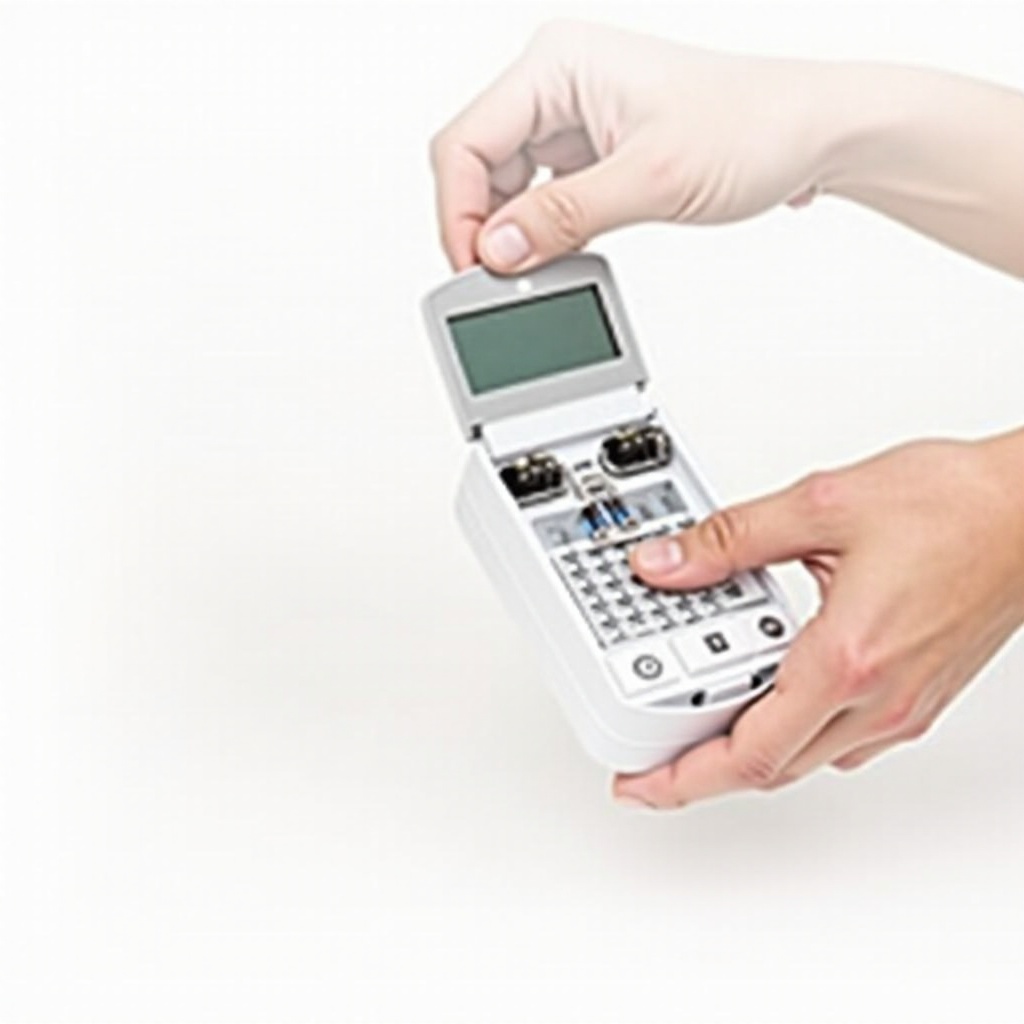
- Replacement batteries: Blink cameras typically use two AA lithium batteries. Ensure you have these on hand before you begin.
- A clean, flat surface: This will make it easier to work with the small screws and parts without losing anything.
- Cloth or towel: You might want something soft to place the camera on to avoid any scratches.
Having these tools and supplies ready can make the battery replacement process smooth and efficient.
Step-by-Step Battery Replacement Guide
The following steps will guide you through changing the batteries in your Blink camera, ensuring it remains in optimal working condition.
Removing the Camera from Mount
- Locate the mounting bracket: Identify where your camera is mounted. Carefully check the screws securing the camera to the mount.
- Use a Phillips-head screwdriver: Unscrew these screws carefully. It’s vital to keep these screws safe because you will need them to reattach the camera.
- Gently lift the camera: After unscrewing, lift your Blink camera from its bracket. Handle it carefully to avoid dropping or damaging the device.
Opening the Battery Compartment
- Identify the battery compartment: The battery compartment is typically located on the back or underneath the camera.
- Release the latch: There’s usually a latch or button that you need to press to open the battery compartment. Gently press this as you open the cover.
- Remove the cover: Once you’ve released the latch, lift the cover off to expose the batteries inside.
Removing Old Batteries
- Carefully remove the batteries: Use your fingers to grasp the old batteries firmly and pull them out gently. Ensure not to touch any other internal components to avoid damage.
- Dispose of old batteries properly: Make sure to dispose of the used batteries according to local regulations on battery disposal.
Inserting New Batteries
- Insert new AA lithium batteries: Take your new AA lithium batteries and insert them into the battery compartment. Ensure that the positive (+) and negative (-) ends align correctly with the markings in the compartment.
- Check the battery placement: Double-check to make sure the batteries are seated correctly and securely in the compartment.
Reassembling the Camera
- Close the battery compartment cover: Place the cover back onto the battery compartment and press down until it clicks or latches securely.
- Reattach the camera to the mount: Line the camera up with the mounting bracket and use the Phillips-head screwdriver to screw it back into place.
- Test the camera: Power the camera on to ensure the batteries are working and that it resumes normal function.
Troubleshooting Common Issues
While the battery replacement process is straightforward, you may occasionally encounter issues. If your Blink camera doesn’t power on after changing the batteries, here are some troubleshooting tips:
- Check battery orientation: Ensure that the batteries are properly oriented as per the positive and negative indications.
- Reinsert the batteries: Sometimes, removing and reinserting the batteries can resolve power issues.
- Inspect the battery compartment: Check for any debris or rust that might be preventing a good connection.
- Try new batteries: If you have spare batteries, try inserting a fresh pair to rule out faulty batteries.
- Reset the camera: If all else fails, consult the Blink user manual for a reset procedure that could resolve the issue.
Tips for Extending Battery Life
Maintaining the battery life of your Blink camera can save you time and ensure that your camera is always ready to use. Here are some tips:
- Optimize motion detection settings: Adjust sensitivity to avoid unnecessary recordings.
- Reduce live view usage: Limit the time spent viewing live feeds to save battery power.
- Use lithium batteries: Standard AA lithium batteries tend to last longer than alkaline.
- Place the camera in a temperate environment: Extreme temperatures can reduce battery efficiency.

Conclusion
Regular battery maintenance ensures your Blink camera continues to effectively monitor your property. By following this straightforward guide, you can change the batteries without any hassle, keeping your camera up and running. Always keep spare lithium batteries and the necessary tools nearby to prepare for the next replacement.
Frequently Asked Questions
What type of batteries should I use for Blink cameras?
Use AA lithium batteries for optimal performance and longer lifespan.
How often do I need to change the batteries in my Blink camera?
Battery life can vary, but you generally need to change them every six months to two years, depending on usage.
What should I do if my Blink camera doesn’t power on after changing the batteries?
Check the battery orientation, try different batteries, ensure a clean battery compartment, and consult the Blink user manual for additional troubleshooting steps.