
17 Sep 2025
Post by Gabriel
Introduction
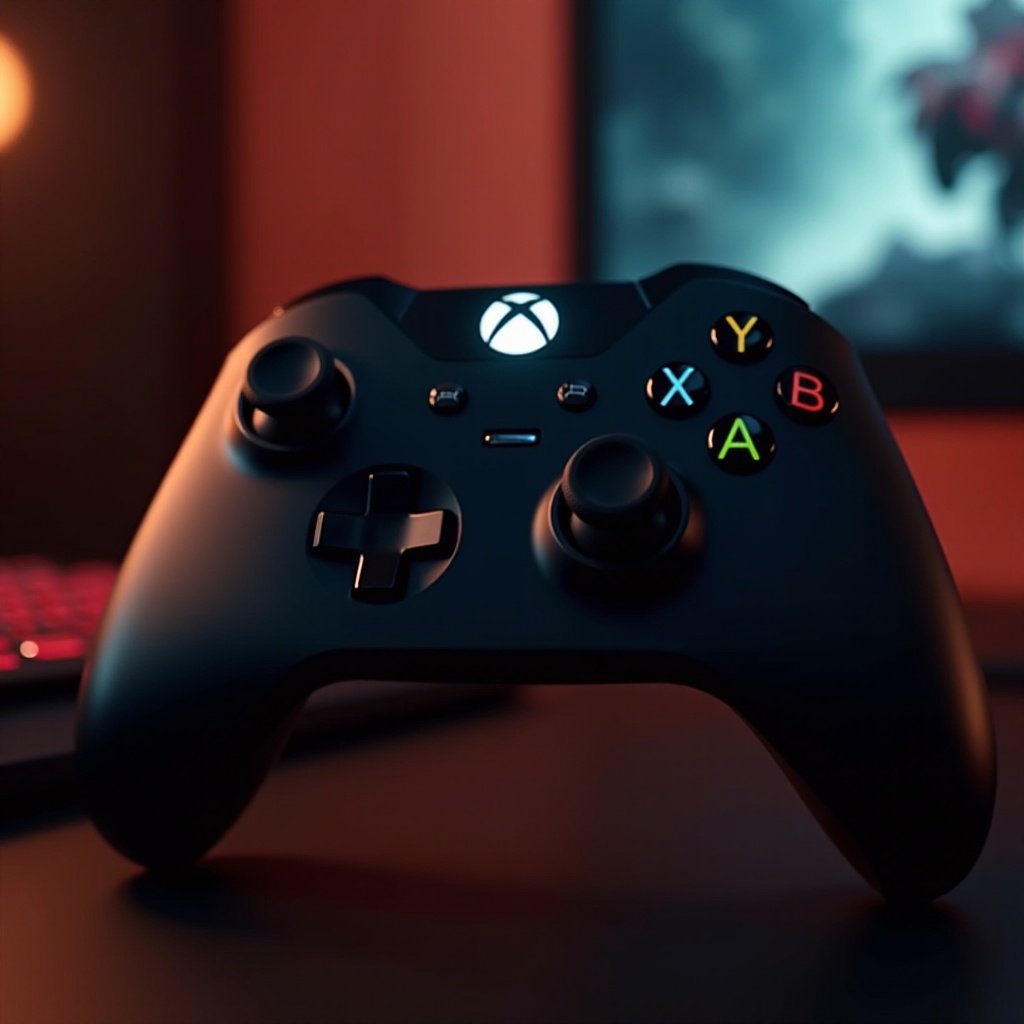
Have you ever experienced your in-game character drifting without any joystick input? This is often due to improper deadzone settings on your Xbox controller. The deadzone represents the area around the joystick’s neutral position within which input is ignored. Adjusting these settings can significantly enhance your gaming performance. This comprehensive guide will walk you through the necessary steps, ensuring optimal responsiveness and control while gaming on your PC.
Understanding Deadzone on Xbox Controllers
The deadzone is a pivotal feature impacting how controllers interpret joystick movements. It refers to the range where the joystick does not register any movement, preventing unintended actions due to the natural ‘wiggle’ of joysticks. There are two primary types of deadzones: circular and square, each affecting gameplay nuances. Grasping this concept is crucial, as adjustments can significantly refine control precision. Gamers often modify these settings to suit personal preferences, addressing any drift or delay, and tailoring responses for various gaming genres. Mastery of deadzone settings is essential for those seeking improved accuracy and tighter control mechanics.
Why Adjust Deadzone Settings?
Fine-tuning your deadzone settings can transform your gaming experience by offering precise controls and instant feedback. Default settings might cause in-game erratic movements or over-precision. Particularly in competitive gaming, where accuracy and speed are paramount, adjusting these settings becomes indispensable. A well-calibrated deadzone setting minimizes errors, enhances your competitive edge, and personalized configurations can distinguish your gameplay style from others.
Preparing Your Setup
Before you dive into deadzone adjustments, ensuring your setup is primed is crucial. A seamless setup process helps you focus on gaming rather than resolving technical hitches.
Required Tools and Software
You’ll need the following for tweaking deadzone settings:
- A Windows PC
- Xbox controller
- Xbox Accessories app (freely available on the Microsoft Store)
Ensuring System Compatibility
Confirm that your PC’s operating system supports the Xbox Accessories app, necessitating Windows 10 or later. Make sure your controller’s firmware is current to avoid any compatibility issues.
Step-by-Step Guide to Changing Deadzone on Xbox Controller PC
Let’s delve into the step-by-step method for adjusting your Xbox controller’s deadzone settings.
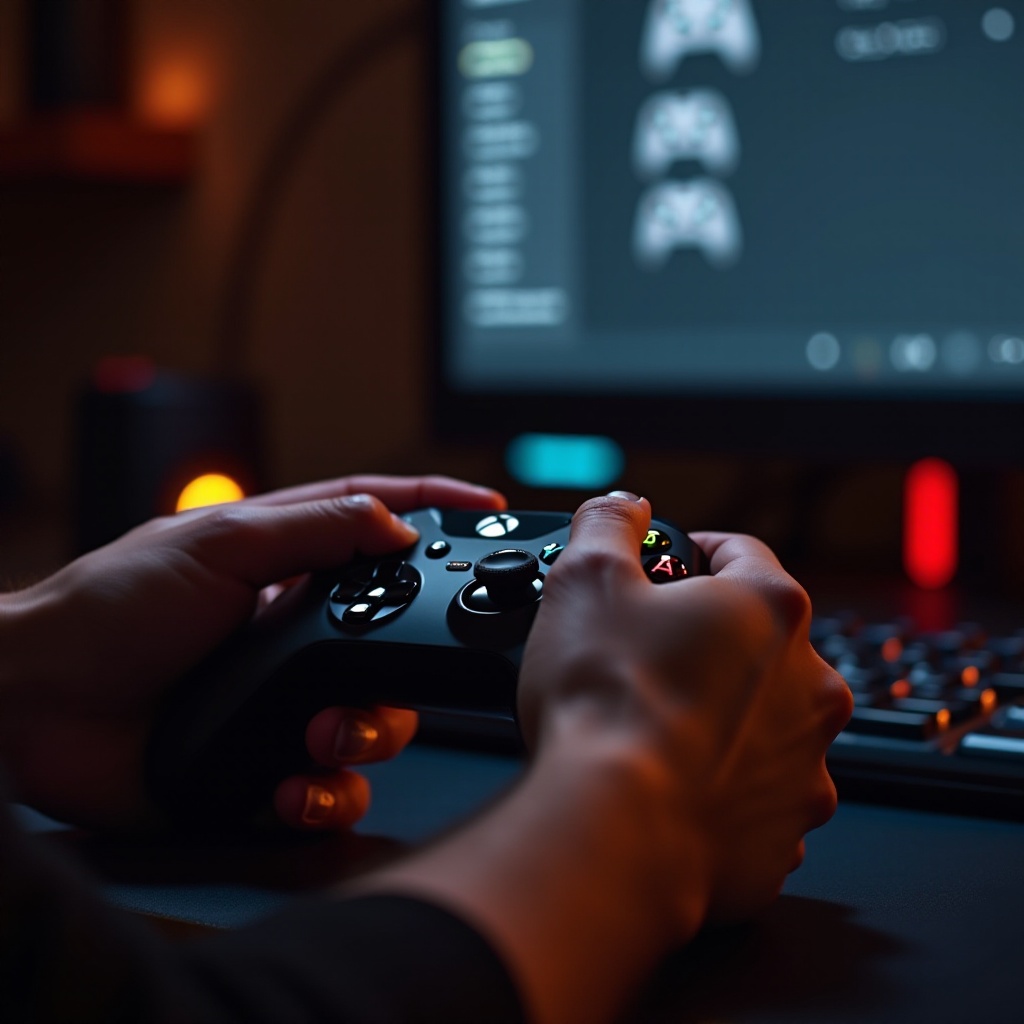
Accessing Xbox Accessories App
- Download and install the Xbox Accessories app from the Microsoft Store.
- Connect your Xbox controller to your PC via USB or Bluetooth.
- Launch the Xbox Accessories app to detect the connected device.
Navigating to the Deadzone Settings
- Within the app, identify your connected controller.
- Click ‘Configure’ and select an existing profile or create a new one.
- Navigate to the ‘Joystick’ settings to locate deadzone options.
Adjusting and Testing Your Settings
- Start with minor adjustments to the deadzone settings.
- Move the joystick and monitor any changes in input behavior.
- Test these settings in a game, fine-tuning for precision and comfort. Iteratively repeat this process until you’re satisfied with the level of responsiveness and accuracy.
Optimizing Deadzone Settings for Different Game Genres
Given the diversity in games, varied deadzone settings are frequently necessary. Consider these adjustments for different genres:
- First-person shooters: Prefer lower deadzone settings for sharper aiming.
- Racing games: A moderate deadzone can minimize oversteering tendencies.
- Platformers: Use deadzone settings that balance control with responsiveness.
Recognizing these differences allows you to customize settings per game, thereby optimizing your gaming experience across genres.

Troubleshooting Common Issues
While adjusting the deadzone is generally straightforward, common issues can arise:
- Joystick Drift: This often signals settings that are too low or potential hardware issues. Recalibrating might resolve it.
- No Response: Double-check that your controller is updated and appropriately connected.
- Erratic Movements: Slow down settings adjustments and reassess until issues are resolved.
Regular testing facilitates identifying and remedying these common issues effectively.
Conclusion
Adjusting the deadzone on your Xbox controller is a key element in enhancing gameplay precision and responsiveness. By following this guide, you can tailor your controller settings to suit various games, boosting your performance and enjoyment. Continually refine your settings, test them across different genres, and embrace the improved control that your adjustments bestow upon your gaming adventures.
Frequently Asked Questions
What is the ideal deadzone setting for competitive gaming?
A smaller deadzone usually benefits precision, especially in competitive FPS games. However, comfort is key; make small adjustments to find the optimal balance.
Can adjusting the deadzone damage my controller?
No, altering deadzone settings does not physically harm your controller. It only modifies the software’s interpretation of joystick inputs.
How do I reset my controller settings to default?
In the Xbox Accessories app, navigate to your controller’s profile and select ‘Reset to Default.’ This will revert all changes, including deadzone adjustments.